VS Code#
As described earlier, Visual Studio Code is a software package (an IDE, or integrated development environment) for writing and running code. This is the “home base” platform you will use in this course for all of your coding, as well as for syncing your code with GitHub. Download it now from the link above, and install it on your computer. Note that on a Mac, VS Code downloads simply as an application that you should drag from your Downloads folder into your Applications folder. On Windows, it downloads as an installer that you need to run. On Linux, you can download a .deb file that you can install using dpkg -i, or you can install it from the command line using sudo snap install --classic code.
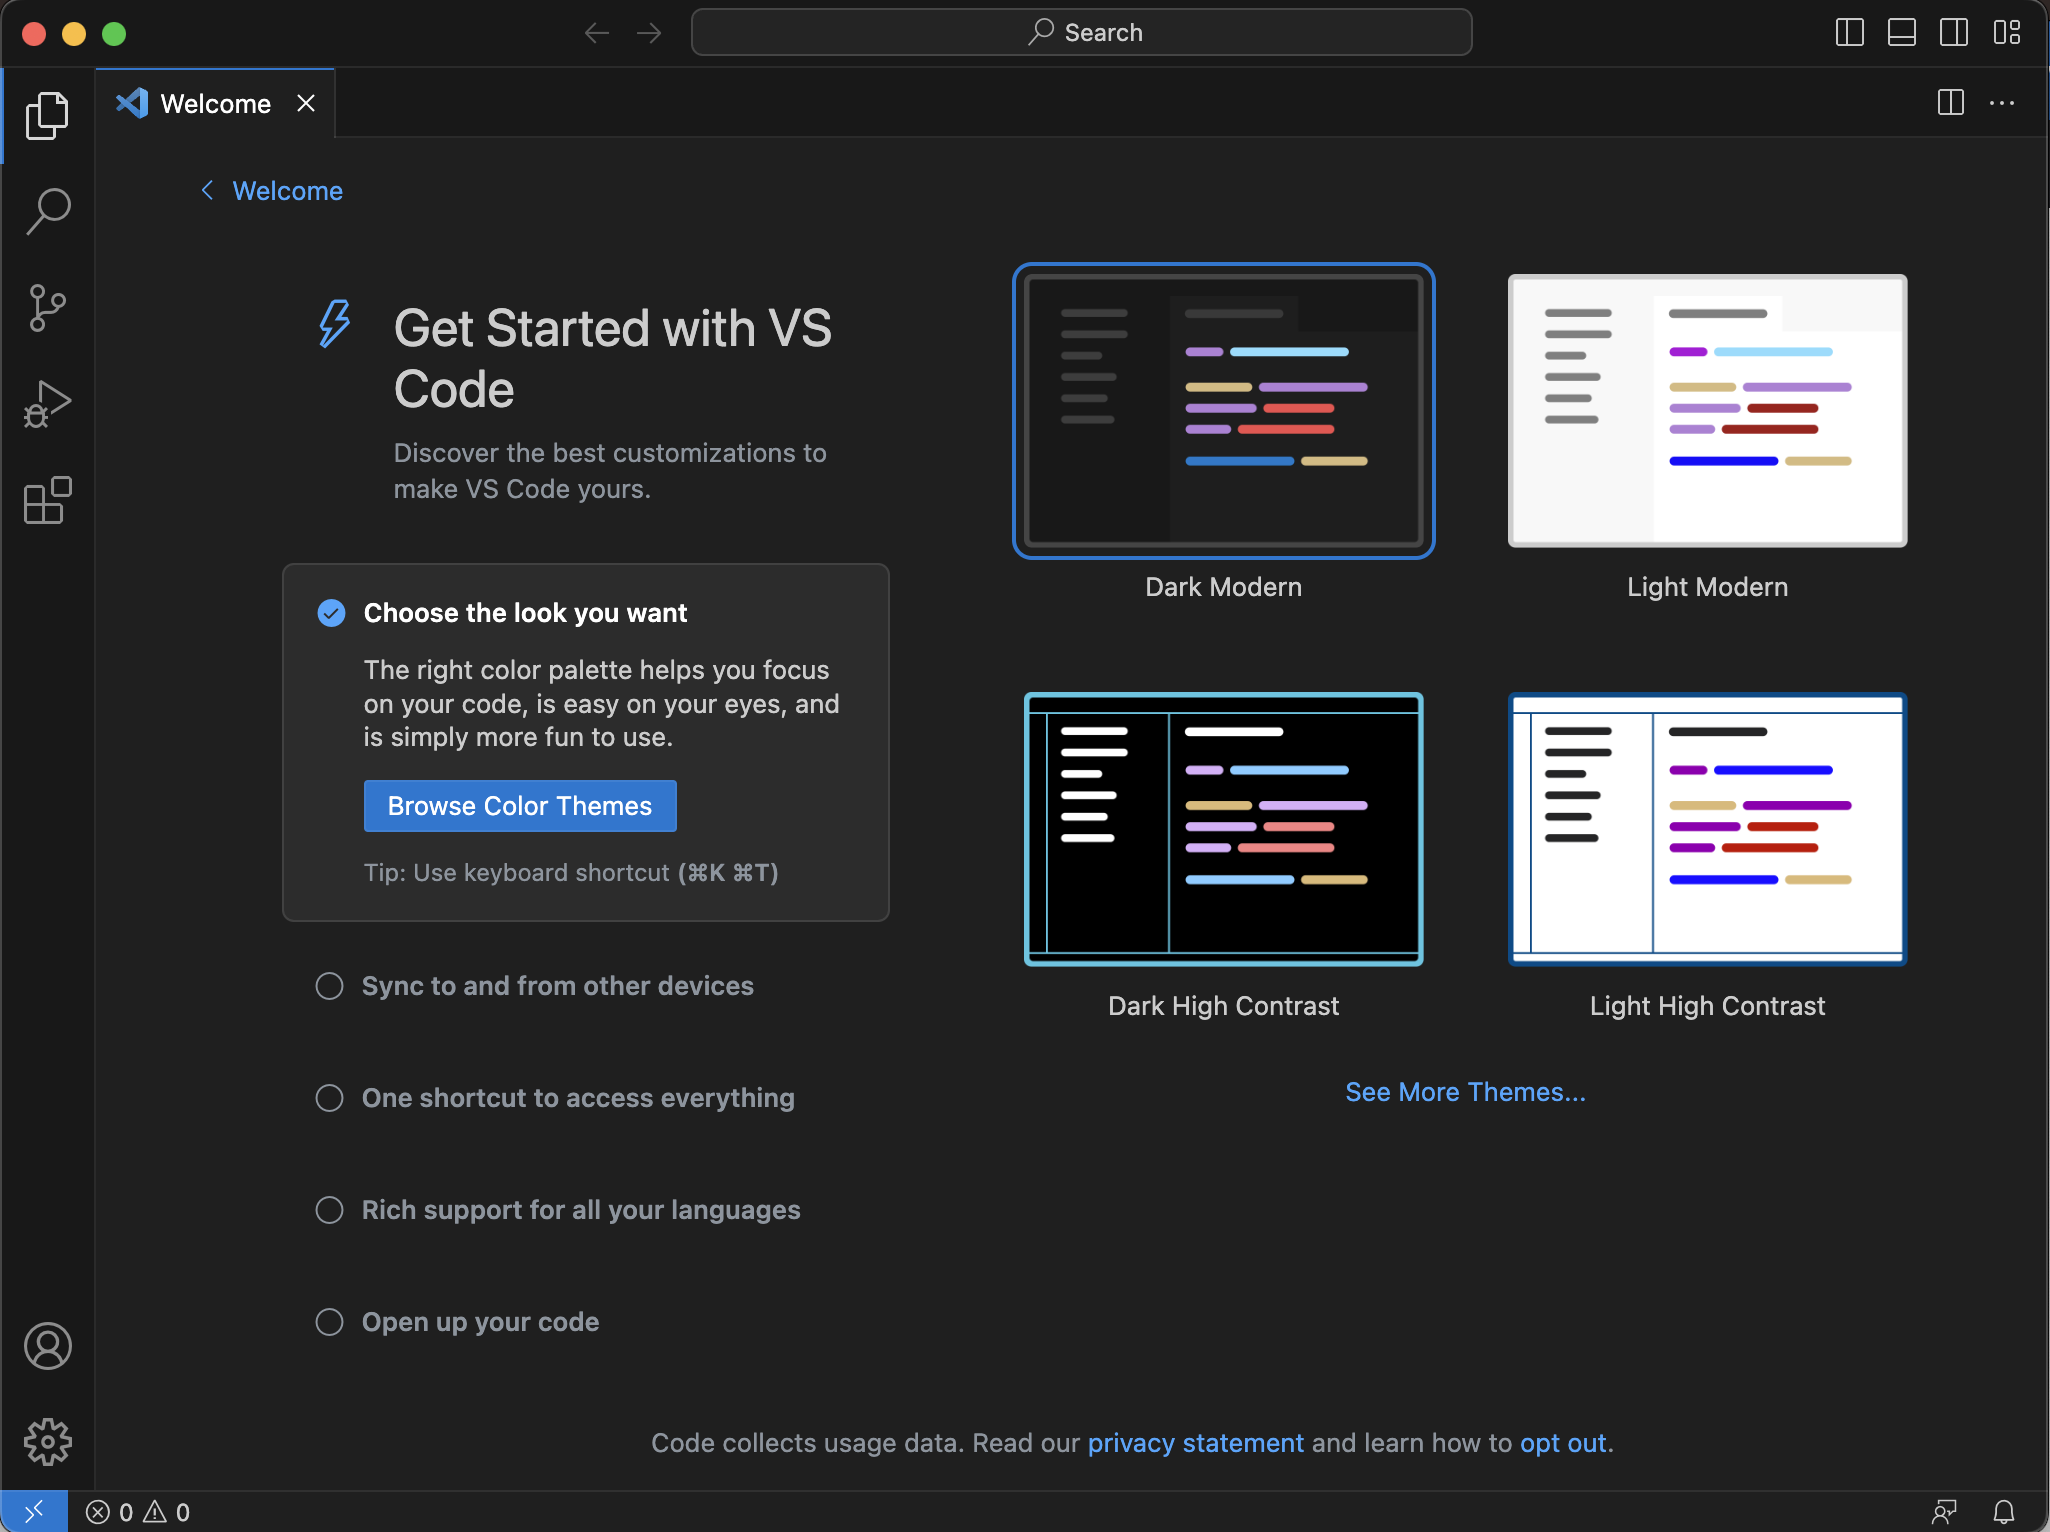
Once you have installed VS Code, open it. You will see a welcome screen that looks like this:
THe first important step is to choose your preferred color scheme! I like to use a dark theme, but it’s entirely personal preference. To change the theme, click on the gear icon in the bottom left corner of the window, and then click on “Color Theme”. You can then choose from a variety of themes. You can also install additional themes by clicking on the “Install Additional Color Themes” button at the bottom of the list.
Sign in to GitHub within VS Code#
Since VS Code and GitHub are Microsoft products, they integrate very well. You can sign in to your GitHub account from within VS Code, which will allow you to sync your code with GitHub and access features such as the GitHub Copilot AI assistant. To do this, click on icon near the bottom left of the screen that looks like a person’s head and shoulders. Then click on “Turn on Settings Sync…”. Now at the top of the VS Code window, you should see a message that says “Sign in to and Turn on”. Click on this button, and then click on “Sign in with GitHub”. You will be prompted to sign in to your GitHub account. Once you have done this, allow the authorizations that are requested. you should see a message at the top of the VS Code window that says “Sync is turned on”. You can now close the “Welcome” tab.
Extensions#
Extensions are add-ons to VS Code that add functionality to the program. Once you have installed VS Code, you should install the extensions you’ll need for this course. To do this, open VS Code, and click on the “Extensions” icon in the left-hand toolbar (it looks like a square with four squares inside it). Then search for each of the extensions below (some of them may show up automatically, as they are among the most commonly-installed), and click the “Install” button for each one. You may need to restart VS Code after installing each extension.
Install each of these extensions, in this order:
Python
On a Mac, you may be prompted to install “Developer Tools” when you install this extension. You can probably get away with not installing it, but if you have trouble installing the extension, you may need to install the Developer Tools.
Pylance
Jupyter
Data Wrangler
GitHub Classroom
GitHub Copilot
GitHub Copilot Chat
(Optional) Add a color theme (search Extensions for
color theme). This is personal preference, but there are many options out there and it can be fun to explore. My current faciourites arePop DarkandGitHub Coilot. Note that a color theme affects both the VS Code user interface, and syntax highlighting within the files you’re editing. You can change color themes at any time, by clicking on the “cog” icon in the bottom left corner of the VS Code window, and then clicking on “Color Theme”.(Optional) Add an icon theme (search Extensions for
icon theme). This affects the little icons that appear beside files in the Explorer, and also the icons in the Activity Bar. I likeHeliumandPop!themes. You can change icon themes at any time, by clicking on the “cog” icon in the bottom left corner of the VS Code window, and then clicking on “File Icon Theme”.
Install the git Application (for Windows)#
git is a command-line application that must be installed in order to work with GitHub from within VS Code. To install it, go to this page and download the installer. Run the installer, and accept all the default options (there are many to click through!). Once it’s installed, you can close the installer.
Install the git Application for MacOS#
git is a command-line application that must be installed in order to work with GitHub from within VS Code. To install it, go to this page and download the installer. Run the installer, and accept all the default options. Once it’s installed, you can close the installer.
Help VS Code find the git application (if necessary)#
On a Mac, VS Code sometimes needs to be told where to find the git application that is installed with GitHub Desktop. If you are using Windows or Linux, you can skip this step.
If you are using a Mac, first confirm that you need to do this step: in VS Code, on the left-hand toolbar, click on the “Source Control” icon (it is usually the third icon down, and has three small circles connected by lines). If you see a message that says that you need to install git, then you need to follow the instructions below. If you see a message that includes buttons for “Open Folder” and “Clone Repository”, then you’re all set, and you can skip this step.
Unfortunately this step is a bit complicated, but bear with us. You need to be able to work with GitHub from within VS Code, and this git installation is a necessary part of that.
In VS Code, click on the “cog” icon in the bottom left, and choose “Settings”. Click on “Search settings” at the top of the window that opens, and type git path. The first result should be the Git: Path setting; click on the Edit in settings.json link. You will see something like this:
{
    "git.path": ""
}
Se the path by putting /usr/bin/git between the quotation marks, so that it looks like this:
{
    "git.path": "/usr/bin/git"
}
Now save the file (File -> Save), and close the window. Quit VS Code and restart it. You should now be able to use GitHub from within VS Code.
Note
This is perhaps your first coding experience in this course! Congratulations! You have just edited a JSON file. JSON is a very common format for storing data, and is used extensively in web development. In this case, your are setting the parameter git.path by pointing it at the location on your hard drive of the git application.
This is also your first opportunity to create a bug. Pay careful attention to the syntax of your edit. For example, if you accidentally delete the quote marks rather than putting "/usr/bin/git" inside them, you will get an error message when you try to save the file. If this happens, just put the quote marks back in, and try again.
Install the Python Packages You Need#
In a previous step, you will have installed either Anaconda or Miniconda. If you installed Anaconda, you will already have many of the packages you need, but you will need to install some extra ones for the EEG and MRI chapters later in the course. If you installed Miniconda, you will need to install all the packages you need.
Whether you’re using Anaconda or Miniconda, it’s recommended that you follow the steps below to install the neural_data_science environment. This will ensure that you have all the packages you need for this course, and that they are all compatible with each other.
Download the neural_data_science environment file#
You can download the neural_data_science environment file from this link, by clicking on the icon with a down arrow (it says download raw file if you mouse over it). Save this file to your computer, unless you already did that when following the instructions for Miniconda.
Install the neural_data_science environment#
To install the neural_data_science environment, you need to open a terminal window. The easiest way to do this is within VS Code. First, open a new window in VS Code by clicking on the “File” menu at the top of the window, and then clicking on “New Window”. Then, open the folder containing the environment file you downloaded by clicking on the “File” menu again, and then clicking on “Open Folder”. Navigate to the location where you saved the file (probably your Downloads folder), and click on it (Downlodas, not the file name) to open the folder.
Next open a terminal window in VS Code, by clicking on the “Terminal” menu at the top of the window, and then click on “New Terminal”. Alternatively, you can hold the Ctrl key then press ````` (the “backtick” or “backwards” apostrophe key that is typically the top leftmost key on a US keyboard). This will open a terminal window at the bottom of the VS Code window. You should be “in” the folder where you saved the environment file, and you should see the file in the list of files in the folder. You can confirm this by typing ls and pressing Enter. You should see the file listed along with any other files in the folder.
Now you can install the environment by typing the following command and pressing Enter:
mamba env create -f neural_data_science.yml
Error
If you’re working on a Mac, you may encounter an error when trying to run the above command. If so, try running the following command first:
sudo conda init zsh
Enter your computer password when prompted. Then close and re-open the terminal window, and try running the mamba env create -f neural_data_science.yml command again.
This will take a while (up to 10 minutes, perhaps longer depending on your computer and internet connection), as it downloads and installs all the packages you need. You will see a lot of output in the terminal window, as each package is downloaded and installed. You may see some warnings or errors, but as long as the process completes, you should be fine. If you see an error message that says something like “failed with initial frozen solve”, you can ignore it. This is a known issue with the mamba package manager, and it doesn’t affect the installation process.
Once this process is complete, you should quit VS Code then re-open it. This ensures that it will see the new environment.
You can check that the installation worked by creating a new file in VS Code. Select the “File” menu, then “New File”. You will see a menu pop up in the top middle of the VS Code window. Select “Jupyter notebook”. This will create a new file with the extension .ipynb, which is a Jupyter notebook file. In the first cell, type the following code:
import numpy as np
import matplotlib.pyplot as plt
import pandas as pd
import seaborn as sns
import scipy
import sklearn
import mne

print("All packages installed successfully!")
Then run the code by clicking on the “Run” button to the left of the area where you entered the text (it looks like a “play” button). This will prompt you to “choose a kernel source”. This is VS Code wanting to know which Python environment you want to run the code in. Select Python environments then choose the neural_data_science environment. You should see the message “All packages installed successfully!” printed below the cell. If you see this message, you’re all set!